Automation
- HelpCenter
- Automation
Getting started with automation
To create an automated birthday email campaign in Sendimpactt, follow these steps:
- Add a Birthday Field:
- Ensure that you have a birthday field in your Sendimpactt contact list where you'll store the dates in MM/DD format. If you don't have this field yet, you can add it to your signup form to collect birthday information from contacts.
- If you already have birthday data, make sure it's stored in the correct format (MM/DDYYYY).
- Create an Automated Birthday Campaign:
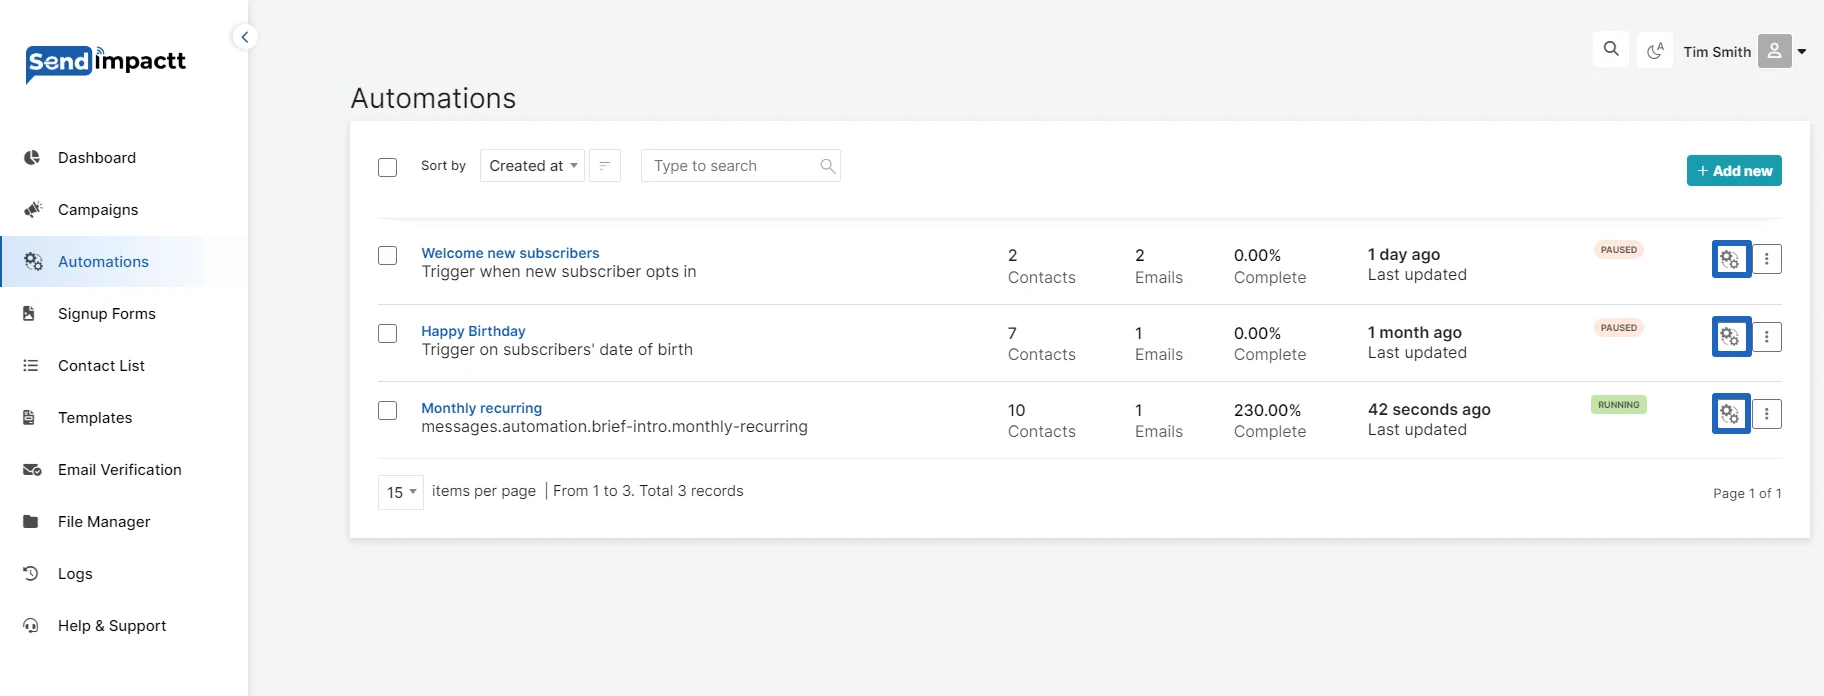
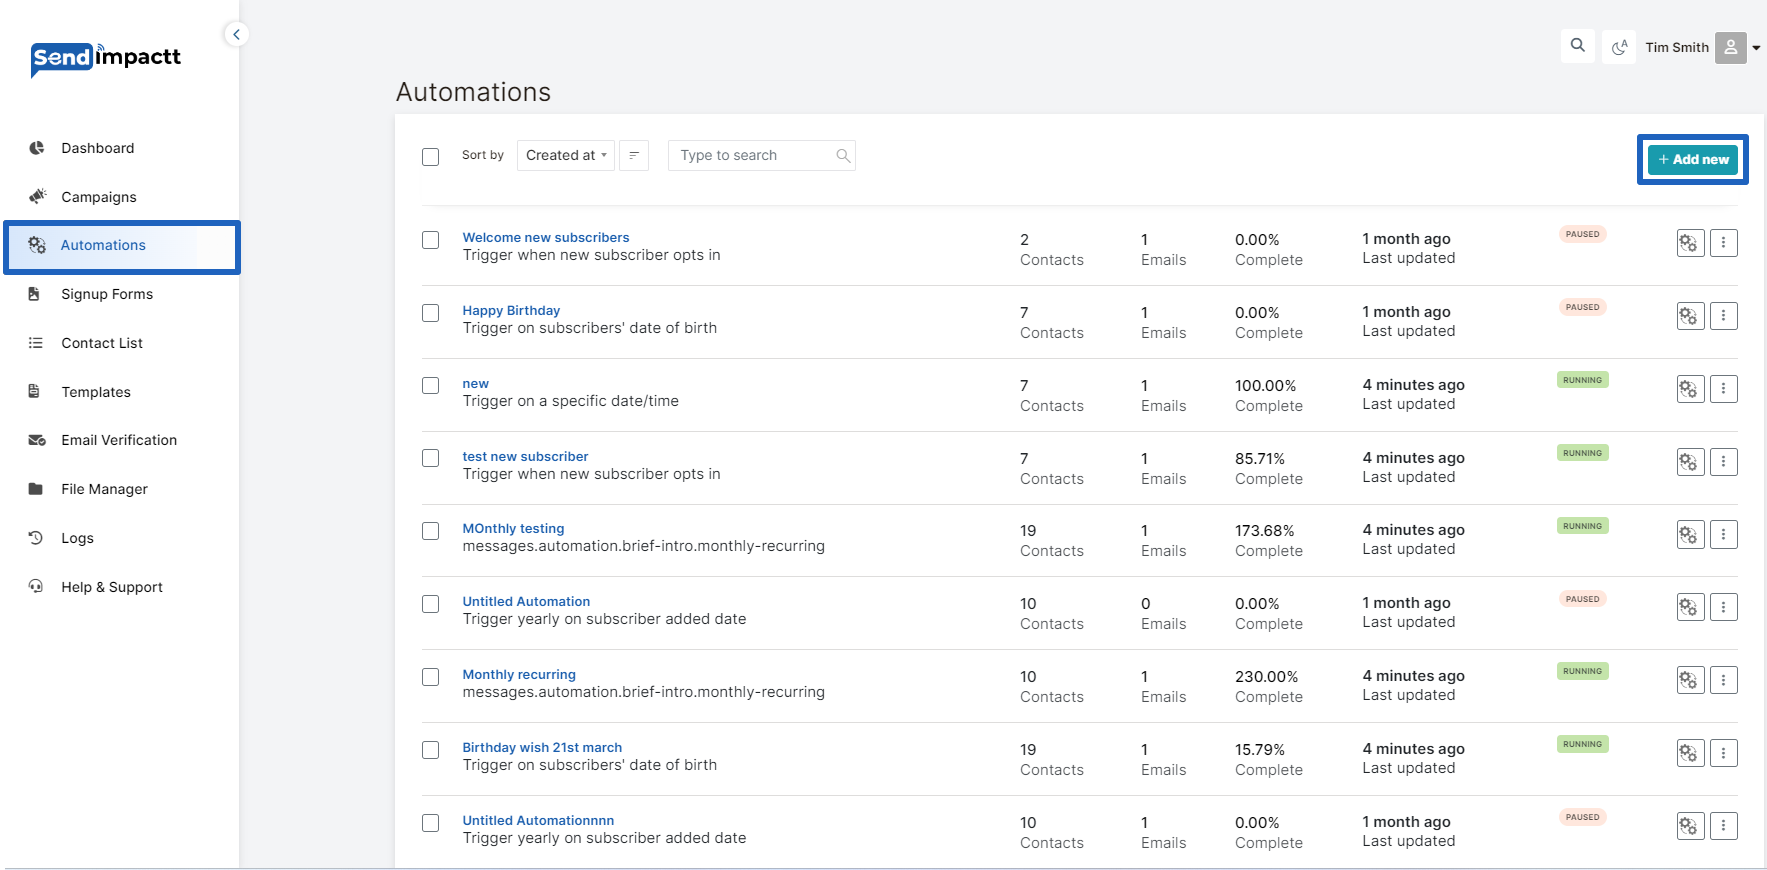
- Log in to your Sendimpactt account and navigate to the Automations section.
- Click on the “Add New” button.
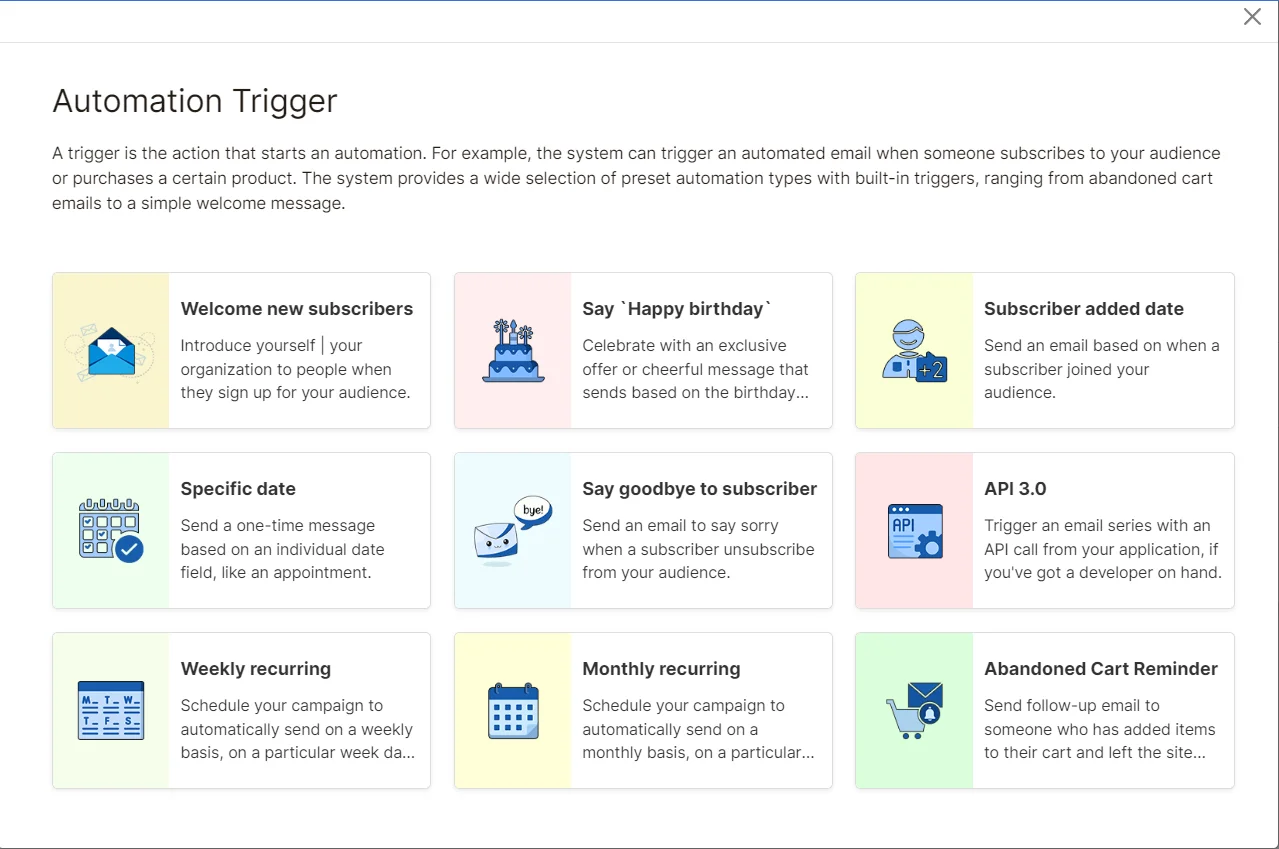
List of Automation Triggers in pop up will appear
Choose HAPPY BIRTHDAY trigger:
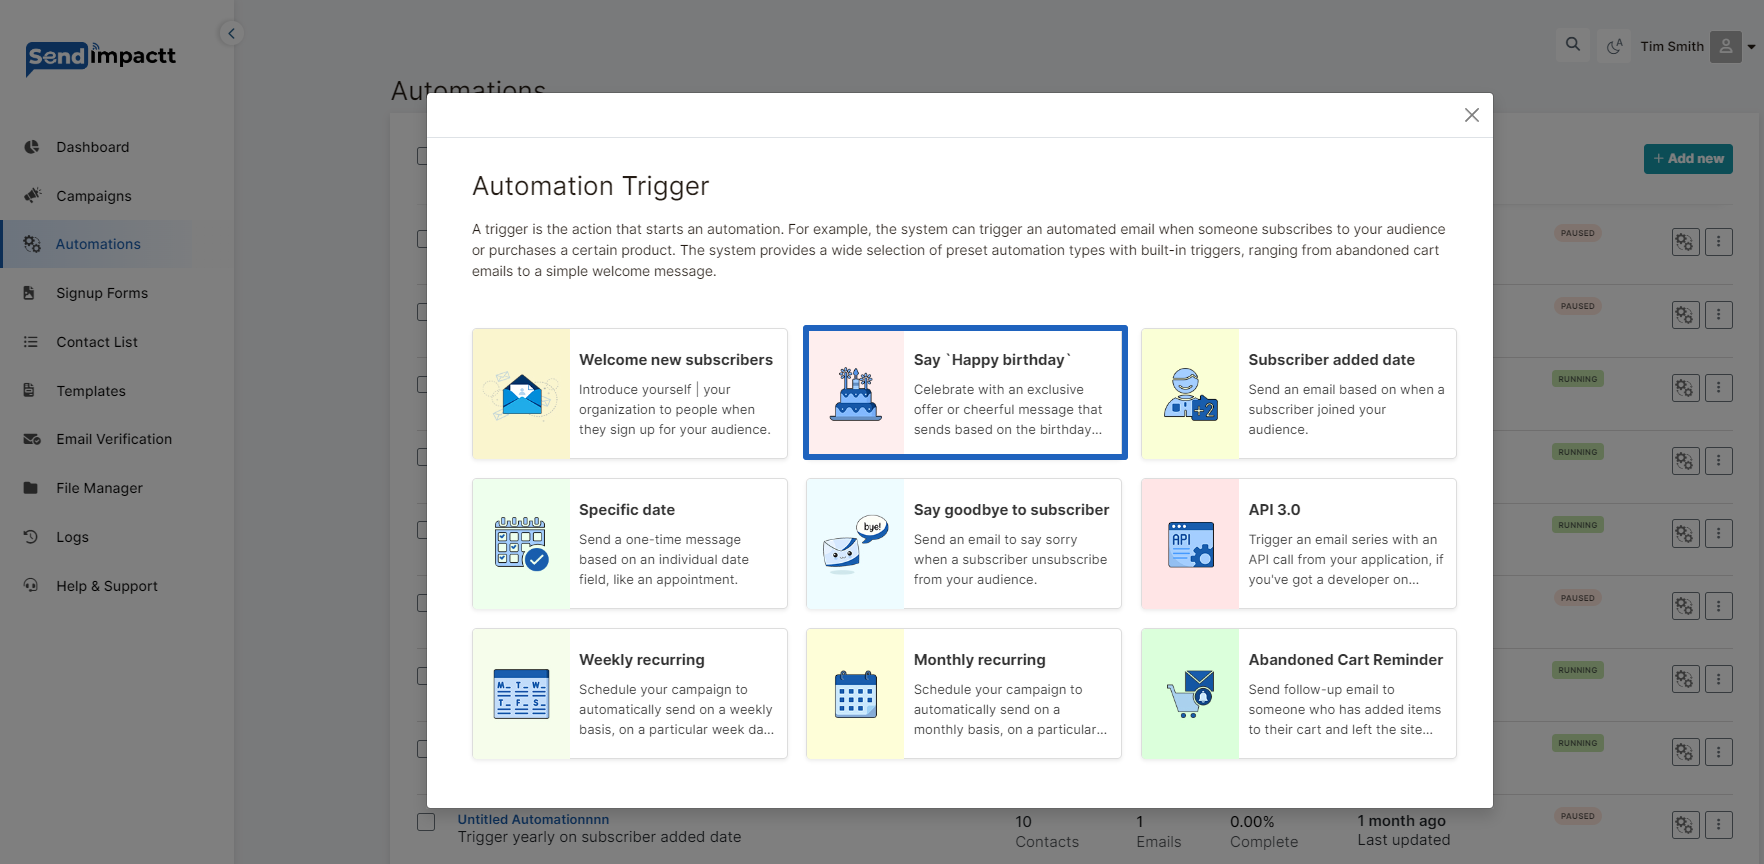
After Selecting the Trigger point fill out all the information asked in the next pop up
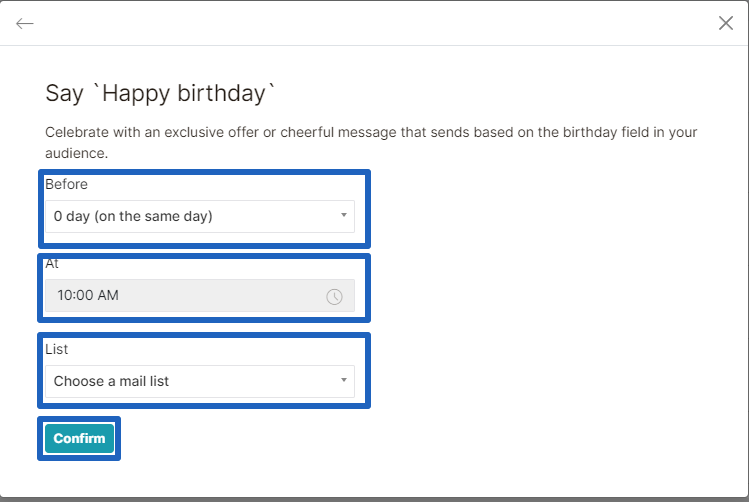
Say happy birthday
Before: Select the Day on which you need to send the automation, You can send upto 5 days before the actual event.
Time : Select the time on which you need to send the automation
List: Select the list on which you want to run the automation
On the next page kindly fill up the campaign name:
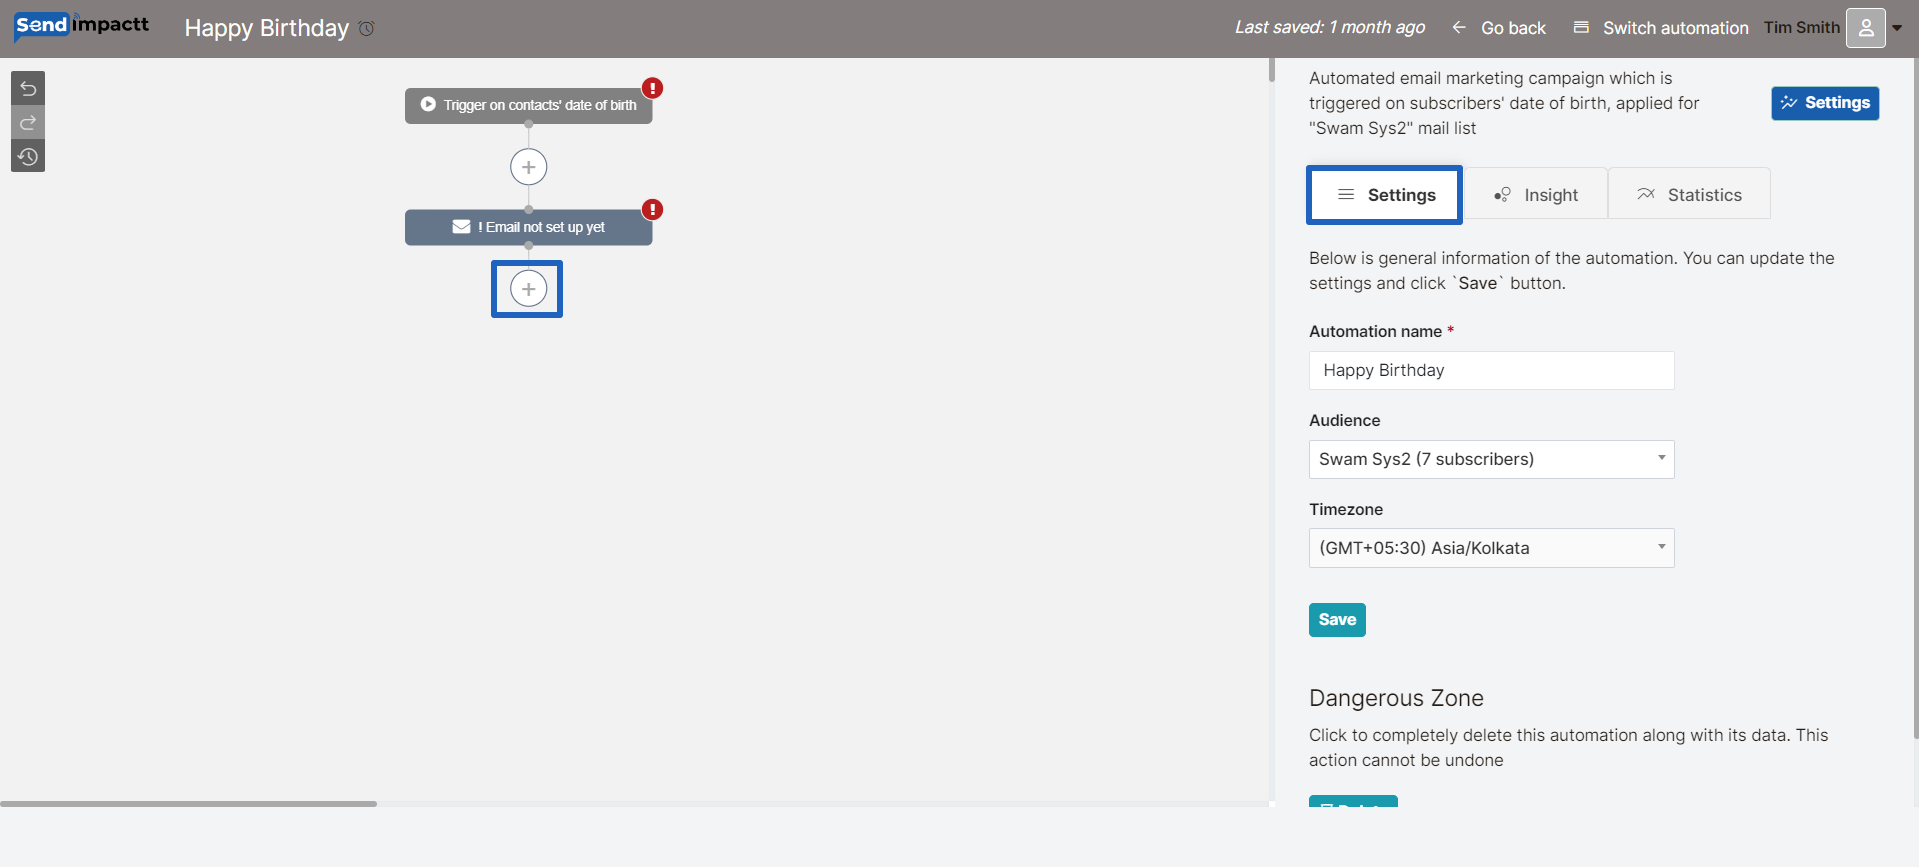
You will enter the automation editor page;
You can change the settings if required
And set the campaign throughout the page
Click on + sign
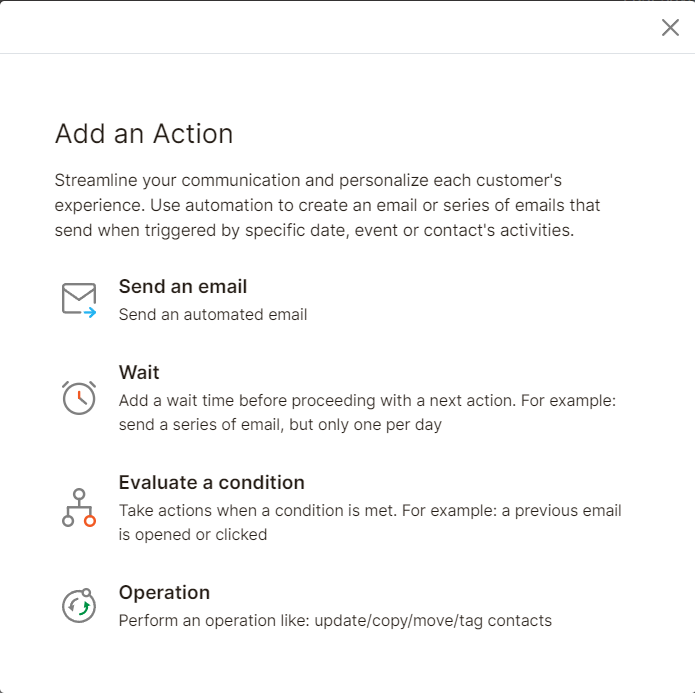
Choose the action from the list
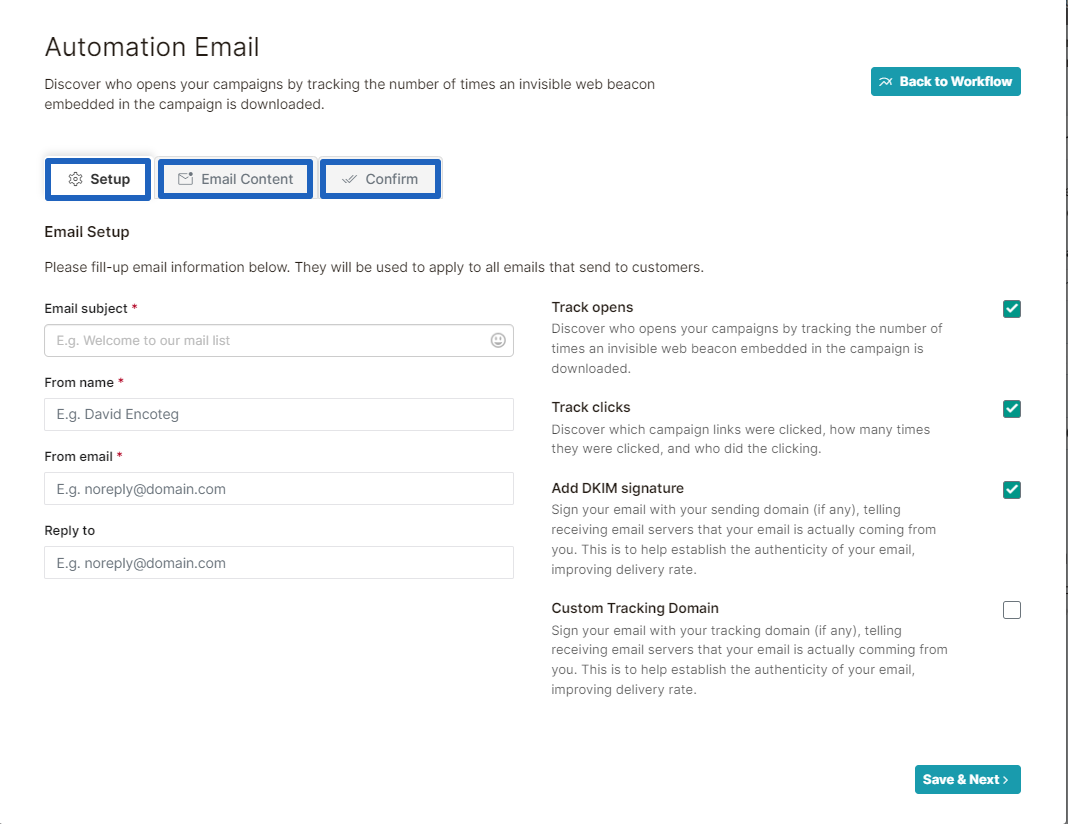
Design Your Email or Email Series:
Fill out all the information as we do it in email campaign
- Set up the email
- Design
- Confirm
Click on go back button.
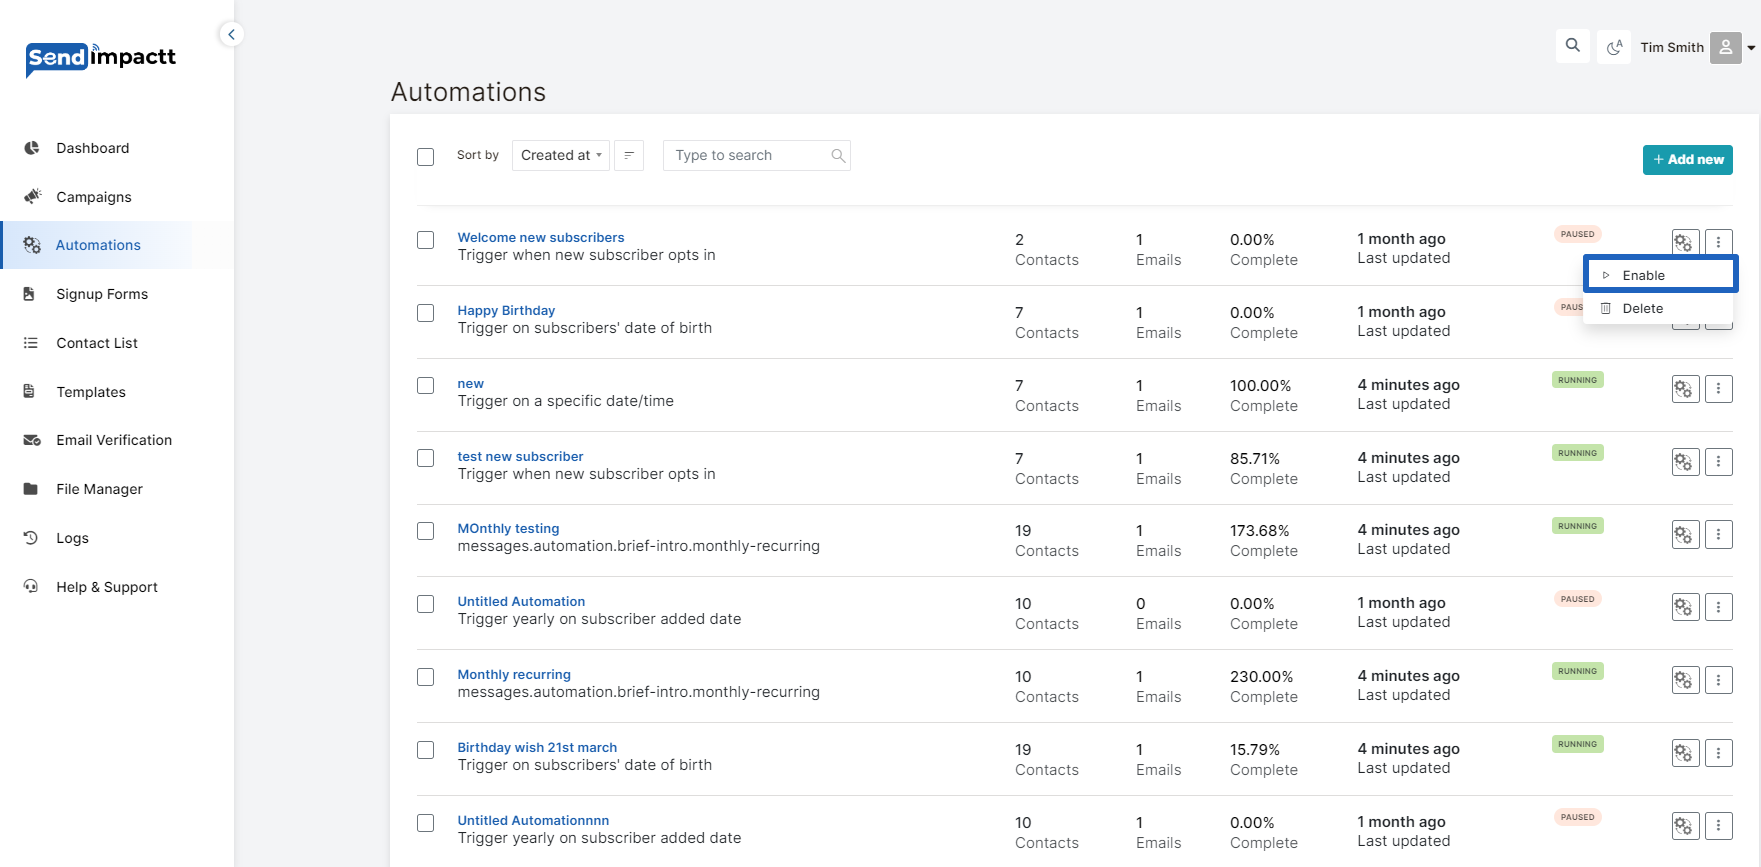
- Enable:
- After designing your emails, previewing, and testing them, ensure that your workflow settings are configured correctly.
- Review the checklist to make any necessary changes.
- Click “Enable” to launch your automation.
- Confirm the start of your automation in the pop-up modal.
- Birthday Email Tips:
- Personalize your emails using merge tags.
- Consider offering promo codes or special discounts to encourage purchases.
- Send a series of emails to provide extra reminders and well wishes leading up to and after the subscriber's birthday.
- Monitor your automation report to track its performance and revenue generation.
- You can pause and edit your automation anytime to make changes as needed.
By following these steps and tips, you can create an effective automated birthday email campaign in Sendimpactt to engage your subscribers and encourage them to celebrate with you.
To create an automated welcome email in Sendimpactt, follow these steps:
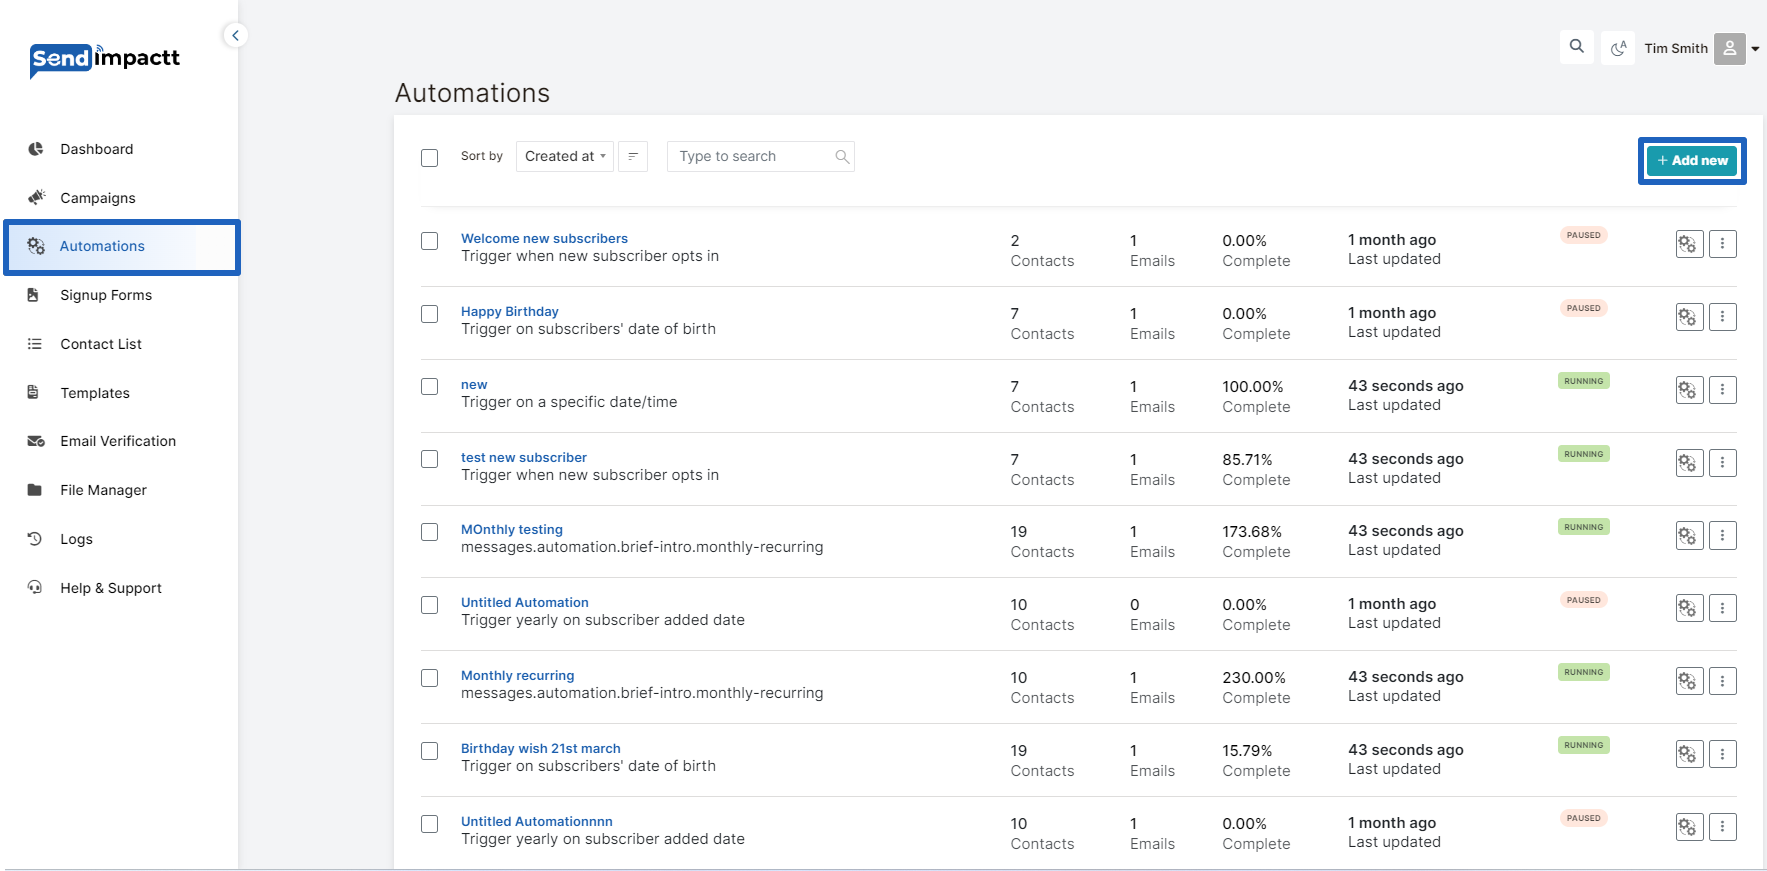
- Log in to your Sendimpactt account and navigate to the Automations section.
- Click on the “Add New” button.
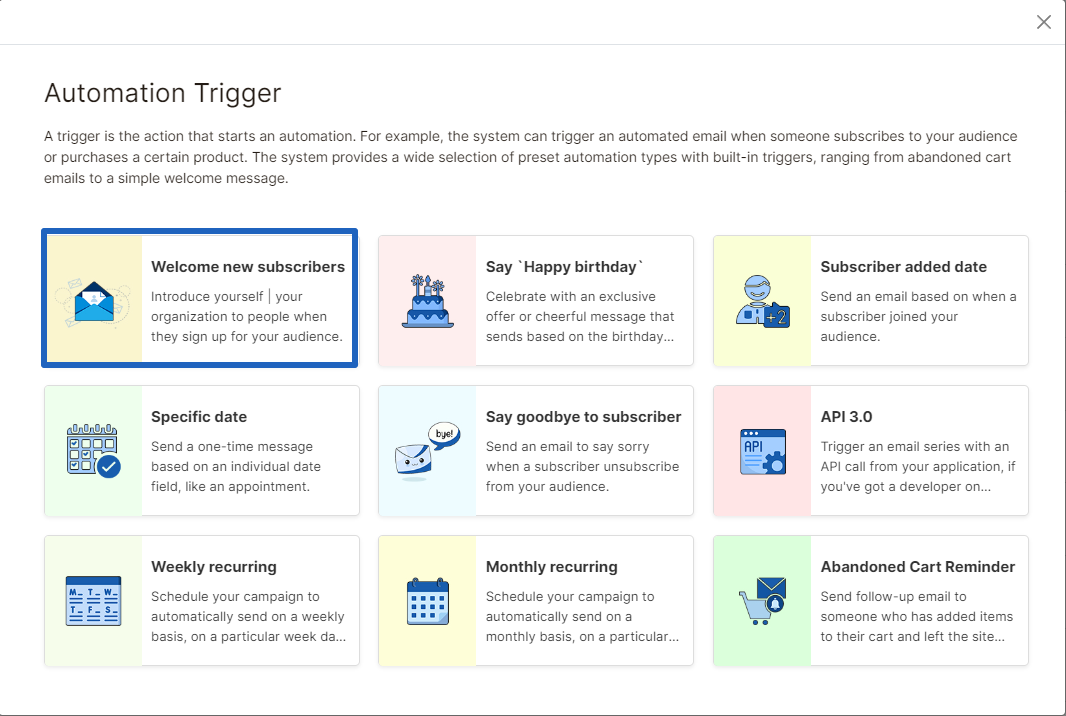
List of Automation Triggers in pop up will appear
Choose welcome New subscribers trigger:
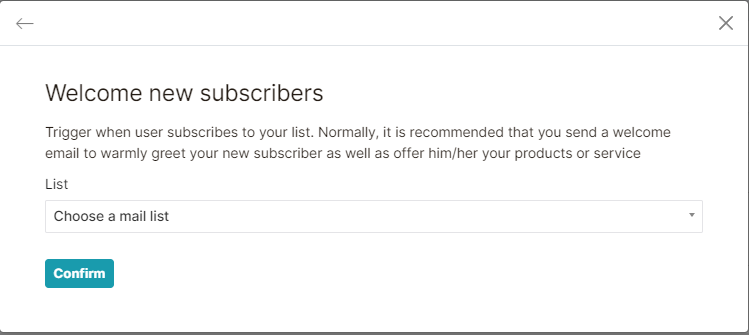
 Select the list on which you need to set up the automation:
Write the camping name
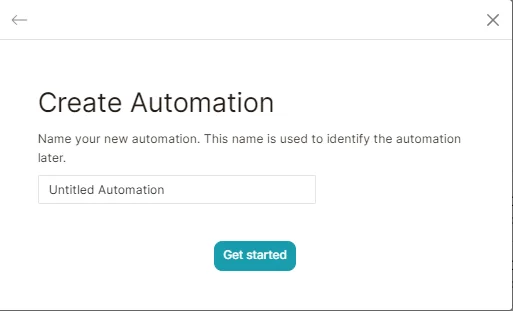
Edit automation:
Setup the email
You can change the settings if required
And set the campaign throughout the page
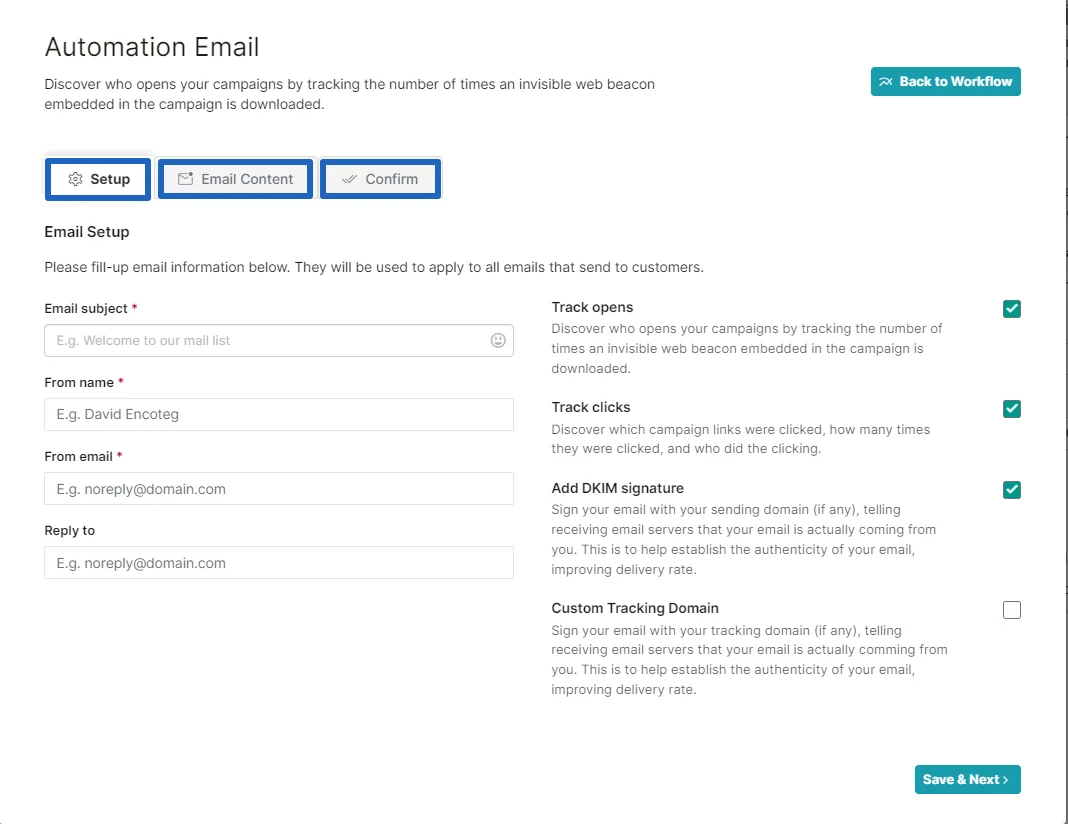
Click on + sign
Choose the action from the list
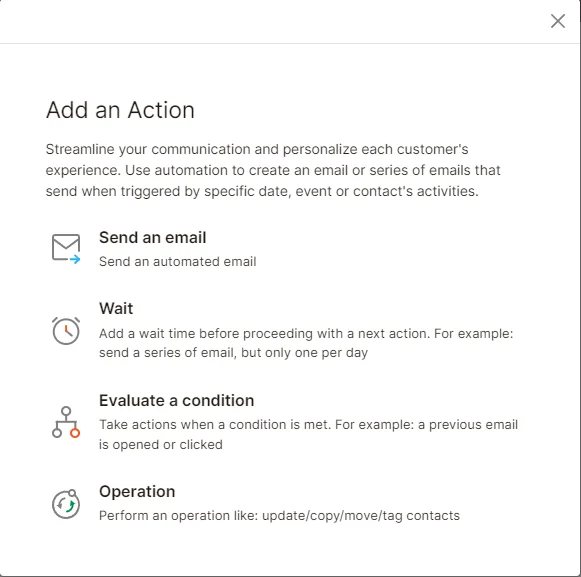
Design Your Email or Email Series:
Fill out all the information as we do it in email campaign
- Set up the email
- Design
- Confirm
- Test & enable Your Welcome Email:
- Confirm the automation's sending status on the Campaigns page to ensure it's enabled..
- Perform a test signup using a new email address. You can create variations of your email address by adding a plus sign and additional numbers or letters (e.g., original@gmail.com, original+1@gmail.com).
- Ensure that your test signup receives the welcome email correctly.
By following these steps, you can create and send an automated welcome email to new subscribers in Sendimpactt. Test the automation to ensure everything is working as expected before launching it to your Contact List.
To pause, edit, or delete an email in your marketing automation in Sendimpactt, follow these steps:
Pause and Resume an Email:
- Click on "Automation" and then "Select the automation" in your Sendimpactt dashboard
- Select the automation you want to work with and choose "Edit."
- Find the email you want to pause and click on "Pause & Edit."
- Make the necessary changes to the email content, trigger, schedule, post-sending actions, etc.
- Once you're done editing, choose "Resume" to start sending the email to queued subscribers.
Edit Emails:
- From the Emails step of the automation builder, click on the link to edit each email's trigger, schedule, segment, actions, and content. Note that you can only edit draft or paused emails.
- Click "Edit" next to the email you want to work with.
- Make the desired changes to the trigger, schedule, segment, post-sending actions, or content.
- After making changes, click "Update Trigger," "Save Schedule," "Save Segment," "Update Action," or "Save and Return to Workflow" depending on the changes you've made.
Delete an Email:
- Click on "Campaigns" in your Sendimpactt dashboard.
- Select the automation you want to work with and choose "Edit Email."
- Click the drop-down menu next to the email you want to delete and choose "Delete email."
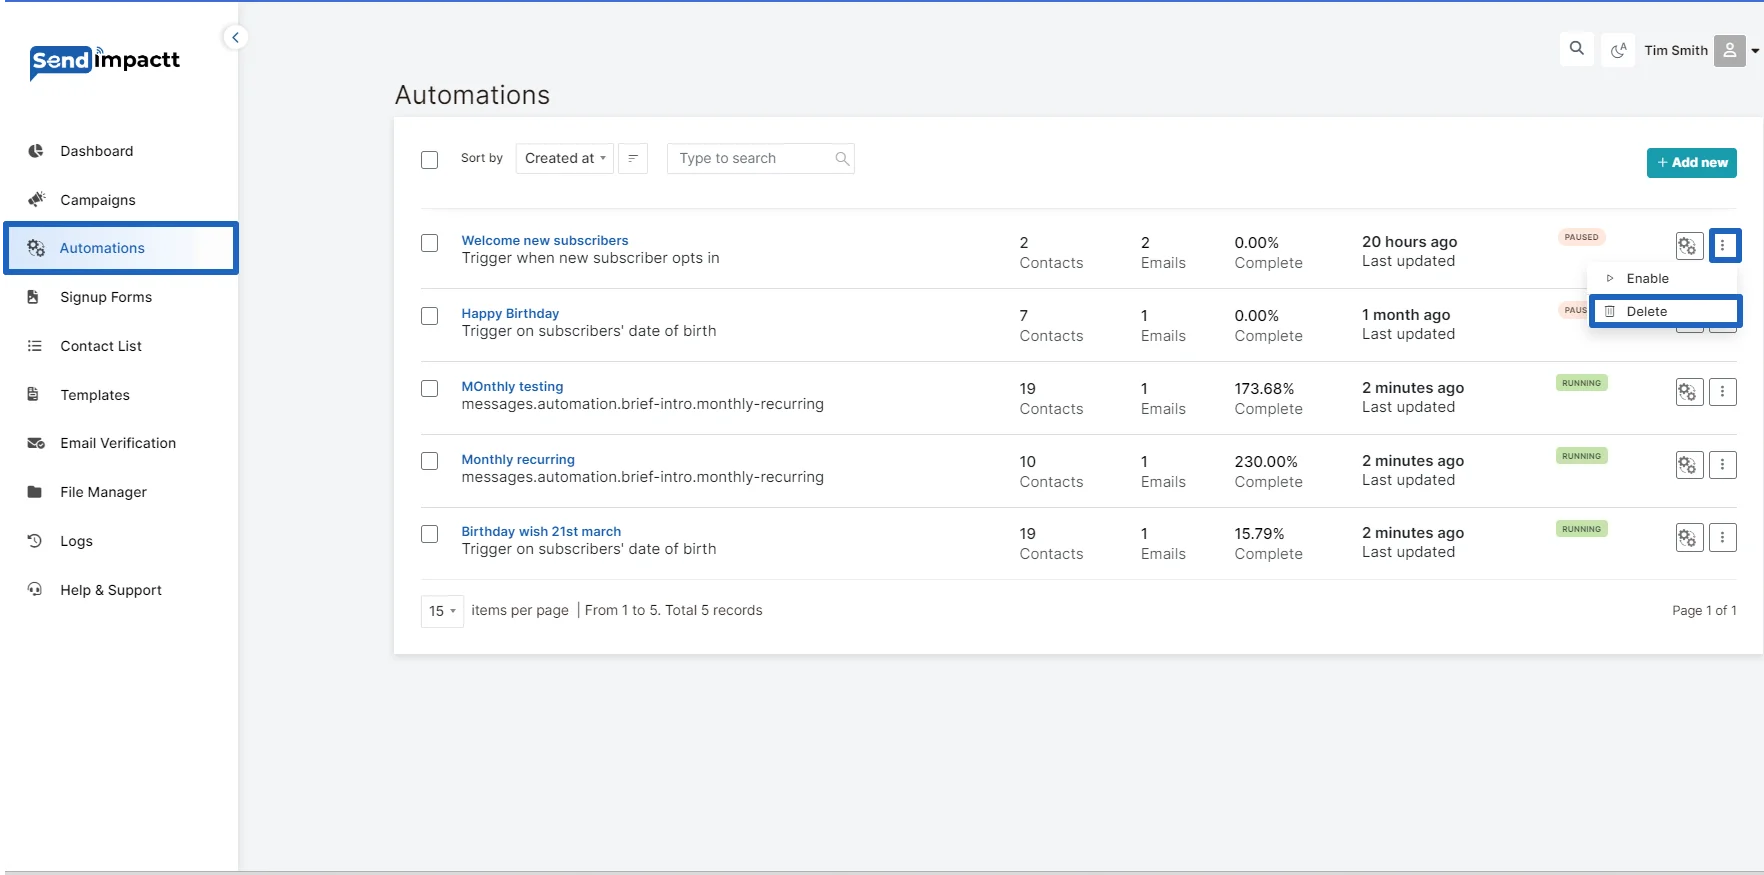
By following these steps, you can effectively manage and make changes to emails within your marketing automation in Sendimpactt.
When setting up an automation workflow in Sendimpactt, you have various starting triggers to choose from, allowing you to create tailored automated email sequences. Here are the different starting triggers available:
- A specific Date: Initiate the automation based on a specific date, such as the last purchase date for subscribers. This trigger requires the subscriber's custom field with a "date" type selected.
- Subscriber Added Date: Begin the automation when a subscriber is added to a specific group, whether through a subscription form or an API call.
- Subscriber Is Removed From a Group: Trigger the automation when a subscriber is removed from a defined group, typically through an API call or another automation workflow. Manual removal of subscribers won't trigger the automation.
- Cart Is Abandoned: Initiate the automation when a cart is abandoned by a customer. You can send abandoned cart reminders, add subscribers to tailored-made groups, and get notified if a cart is recovered. This requires integration with e-commerce.
- An API Call Is Made: Start the automation based on events from any other system or program by sending an API call.
- Subscriber Unsubscribed: Begin the automation when a subscriber unsubscribes. This trigger can be used to notify yourself, move subscribers to a certain group, remove them from future messaging, or send a confirmation email to acknowledge their decision to unsubscribe.
Monthly/weekly recurring:
It's essential to note that automation triggers are based on the account's time zone. If you encounter any delays, double-check the time zone set in your account settings.
Automation Statistics:
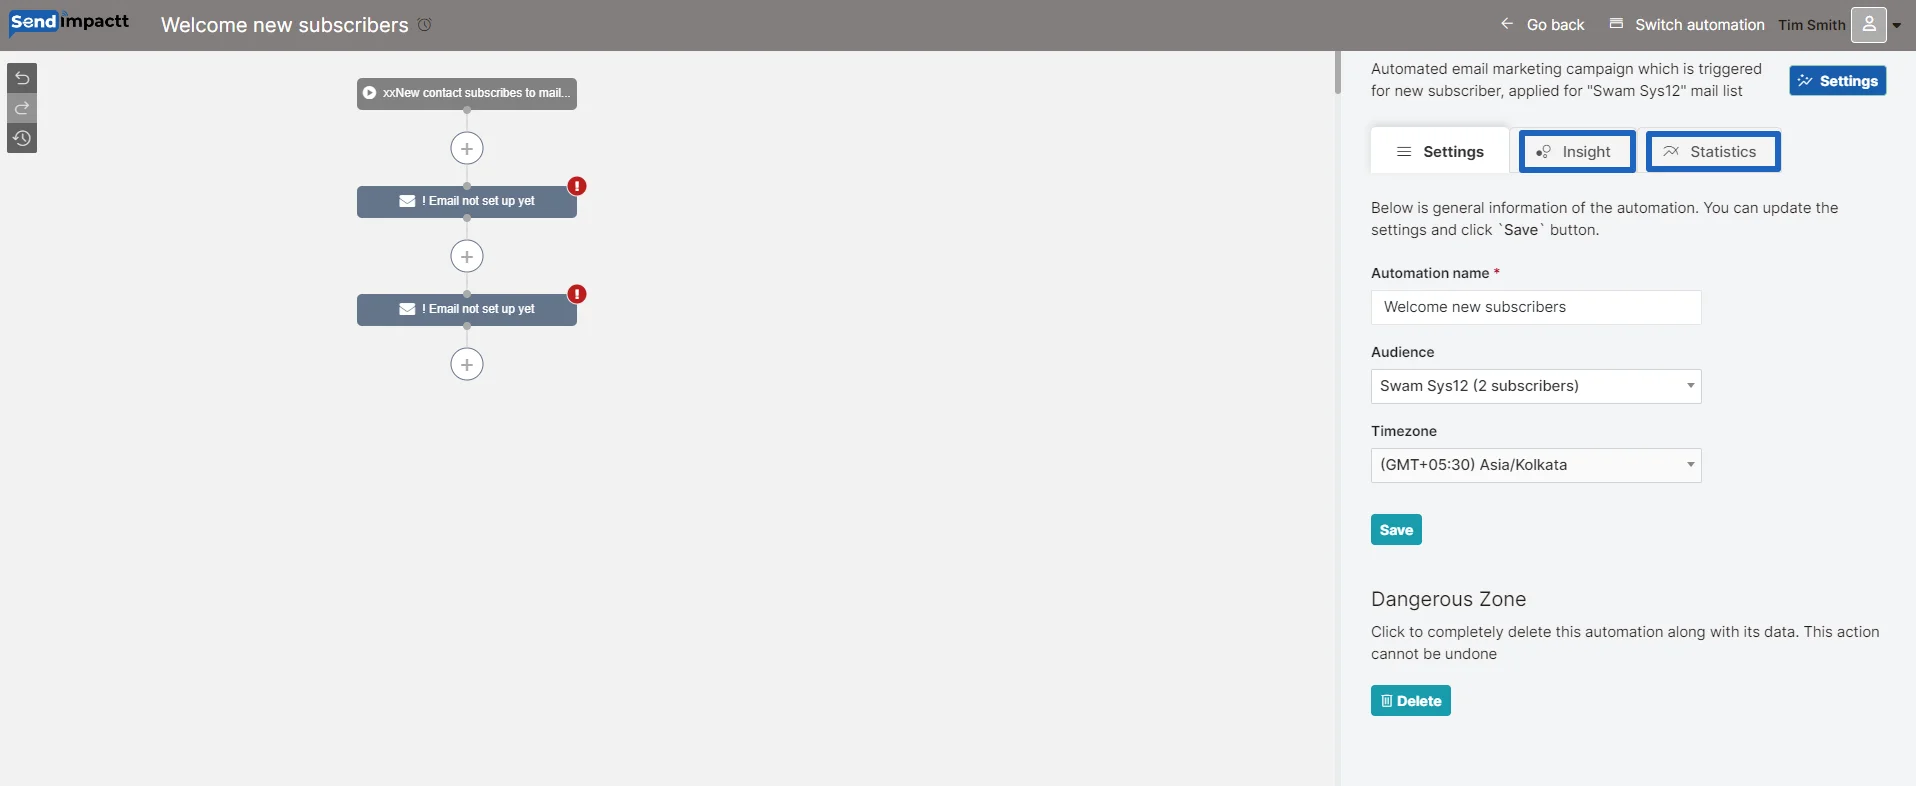
Check the insights and statistics:
You can click on the button to check the stats:
